Introduction
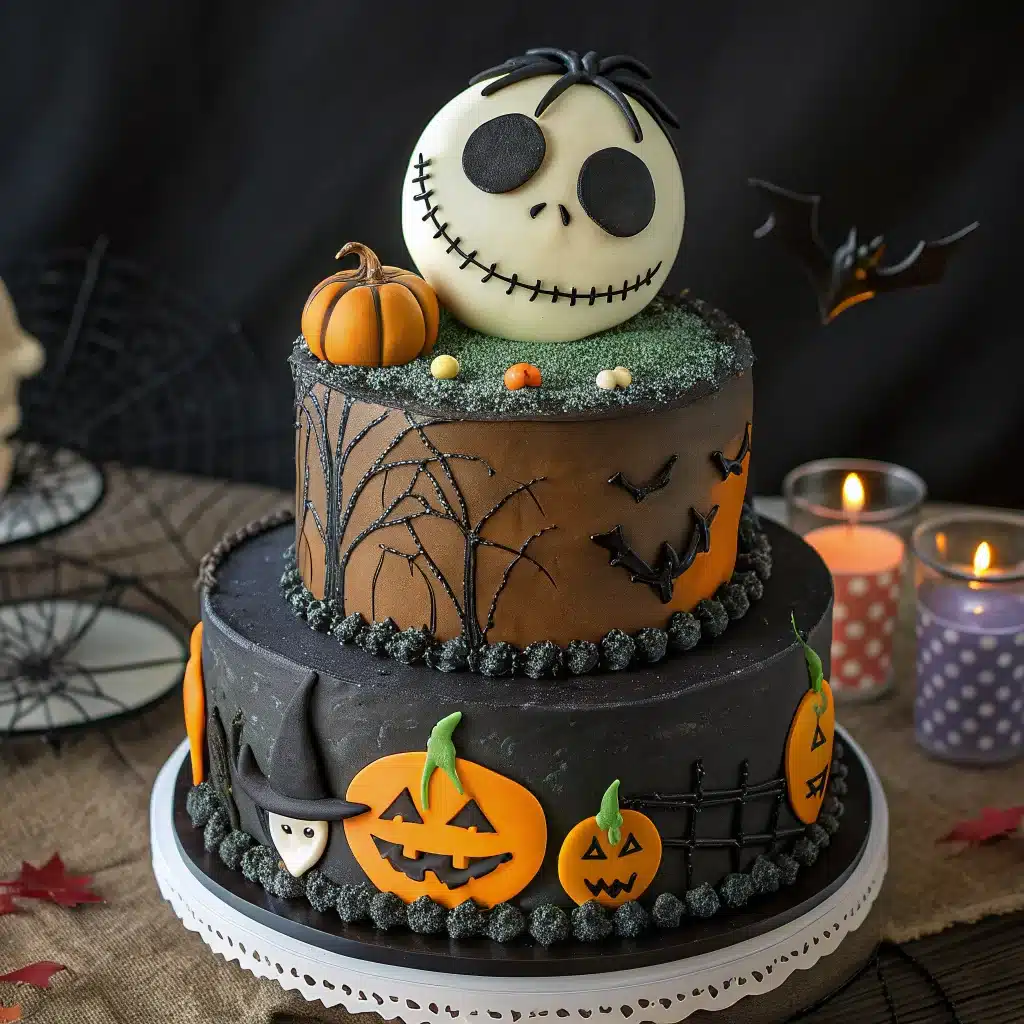
In the heart of Halloween Town, there’s always something sweet and spooky waiting to be discovered. Among the most beloved creations is the Nightmare Before Christmas Cake, a whimsical dessert inspired by Tim Burton’s enchanting film. With its dark yet charming aesthetic, it combines the festive spirit of Halloween with the warmth of Christmas. Chef Ella, known by many as “Ella chef,” has always admired the story of Jack Skellington and decided to craft this cake as a tribute. The result is a dessert that’s not only delicious but also a piece of edible art perfect for themed parties.
Recipe Card

Nightmare Before Christmas Cake
Ingredients
Equipment
Method
- Preheat oven to 350°F (175°C). Grease and flour cake pans.
- In a bowl, mix flour, sugar, cocoa powder, baking powder, baking soda, and salt.
- Add milk, oil, eggs, and vanilla extract. Beat with an electric mixer until smooth.
- Stir in boiling water. The batter will be thin, but that’s perfect.
- Pour into cake pans and bake for 35-40 minutes. Cool completely.
- Cover the cake with rolled white fondant. Shape Jack’s eyes, nose, and mouth with black fondant.
Nutrition
Notes
How to Make the Recipe
Creating a Nightmare Before Christmas Cake is as magical as it sounds. Begin by preparing your cake base: mix together flour, cocoa, sugar, baking soda, baking powder, and salt. These dry ingredients form the rich foundation of the cake. Next, add the wet elements—milk, vegetable oil, eggs, and vanilla—blending everything with an electric mixer until smooth and creamy. The final touch to the batter is a cup of boiling water, which thins it out and ensures the cake will be moist and tender after baking.
Pour the batter evenly into greased cake pans and bake at 350°F (175°C) for about 35–40 minutes. Allow the cakes to cool fully before moving on to the fun part—decorating. Roll out white fondant to cover the cake completely, creating a smooth and ghostly base. This will serve as Jack Skellington’s iconic face. Using black fondant, carefully craft his large round eyes, stitched smile, and thin nostrils. You can also add additional Nightmare Before Christmas-inspired accents like bats, pumpkins, or spiral hills if you wish to enhance the spooky theme.
For an extra layer of indulgence, fill the cake with chocolate ganache or buttercream frosting before covering with fondant. This not only adds depth of flavor but also helps bind the layers together firmly. Patience is key when shaping the decorations—small details like Jack’s stitched grin bring the character to life. Once finished, you’ll have a showstopping cake that perfectly captures the spirit of Halloween and Christmas, delighting both children and adults alike.
Conclusion
The Nightmare Before Christmas Cake isn’t just a dessert—it’s a celebration of imagination, artistry, and the joy of baking. By combining a rich chocolate base with playful fondant decorations, you can bring Jack Skellington to life in edible form
